Listing photos matter a lot when you’re selling a house. Since they are a potential home buyer’s first glimpse of your home for sale, they should serve to make a good impression. After all, the more interest your home generates, the more likely that it gets sold quickly – and for a good price.
There are two golden rules to follow in real estate photography: First, try as much as possible to avoid using flash to avoid unflattering shadows and reflections. Second, focus on taking pictures of the main living areas as these will be of much importance to buyers.
Here are six more secrets to taking stunning real estate photography that will help sell your home faster.
-
CREATE A SHOT LIST
-
SCHEDULE PHOTO SHOOTS ON SUNNY DAYS
Taking photos while the sun is out and the skies are clear has the following benefits:
- The sun gives all the natural lighting you’ll need to brighten up a room and make it look more inviting.
- The play of sunlight and shadows can add depth and dimension to a photo.
- Sunlight makes special features of a room stand out, like crown molding or a fireplace.
- Sunlight can make colors pop in a photo, making the room look more vibrant.
- Having the sun light up the home reduces the risk of blurry photos.
-
USE A TRIPOD
-
TAKE ADVANTAGE OF AVAILABLE NATURAL LIGHT
-
INVEST IN A WIDE-ANGLE LENS
-
EDIT YOUR PHOTOS
Efficiency and organization are the goals behind creating a shot list – a summary of all the photos you need to take for your photo session. It also ensures that you won’t forget the photos to be taken. This list should include details such as the intended subject of each photo, where it should be taken, details to be included in the shot, and its purpose.
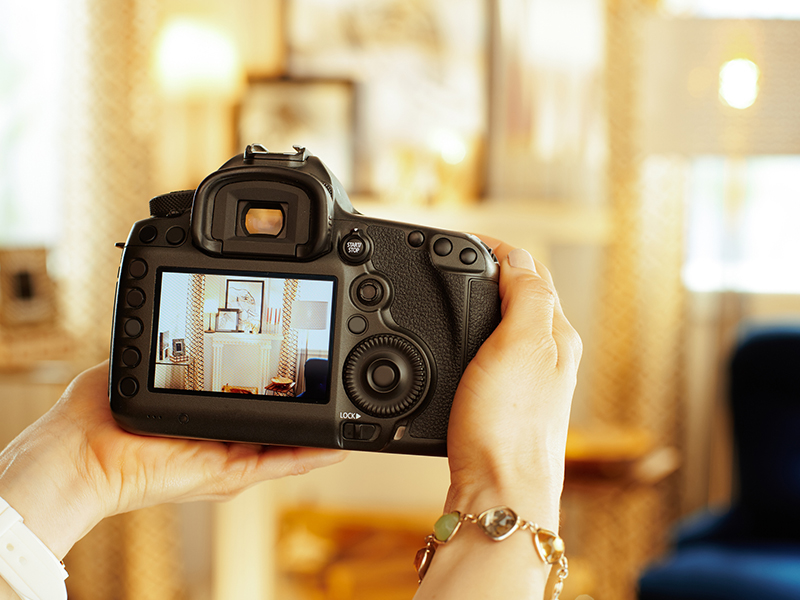
Sometimes, your own hands are the culprit behind blurry photos as they can shake while you are focusing on something. Using a tripod can be a huge help to keep your camera steady so you can get clear, sharp shots.
When taking photos of your interiors, use as much natural light as possible to make the space look more inviting and open. Moreover, it will do away with the need to use a flash. But if you must use a flash, try diffusing it with a piece of white paper or fabric to soften its light.
A wide-angle lens is an ideal type to use for real estate photography, primarily because it allows you to capture a wider field of view. This can be helpful when shooting interiors or trying to fit a large home into one frame. It can also help to create a sense of depth and dimension in your photos – an advantage when shooting small spaces. And because this lens captures more light than a standard one, it can also be helpful in low-light situations.
Your photography session doesn’t end with the photo shoot. You need to edit your photos to let them really stand out. Small tweaks like adjusting the white balance or increasing the contrast can make real estate photos look as close to reality as they can.
Make sure your listing photos become the key to bringing your home-selling endeavor forward to the next parts of the process. If you’d like to inquire about communities in Central New Jersey, contact our team at Pagnotta Homes by calling 908.436.7947 or by sending an email here.